Help
Getting Started
- Log in with your network eNumber (including the ‘e’) and password.
- You will need to log in again after more than 60 minutes of inactivity

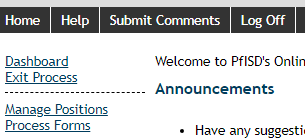
- Select one of the following options:
- Dashboard - Your contracts and current position information
- Exit Process – Begin the exit process for your own position
- Manage Positions – Begin or continue the exit process for another person’s position
Exit Process
- Click on Exit Process from the main menu.
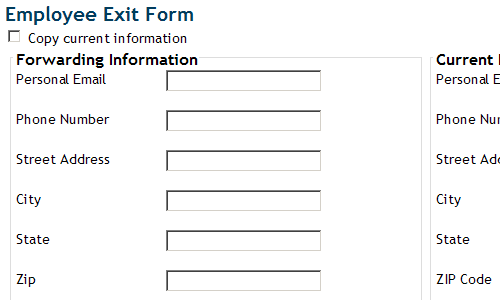
- Select Submit Employee Exit Form

- Fill in the correct forwarding information.
- If the contact information from Skyward is correct on the right side of the screen, click on the box next to “Copy current information” to copy the fields
- Select the department under which your position falls.
- The department determines which director is notified.
- If correct department is not listed, select “Campus” to send the notification to the head of your campus listed with Skyward.

- Click within the Last Day of Work field and select a date from the pop-up calendar.
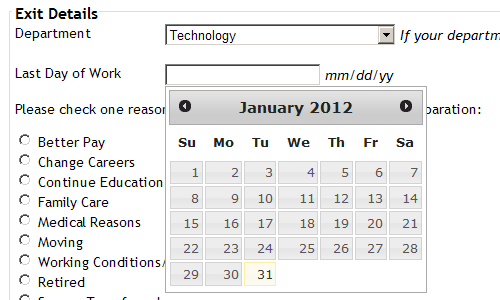
- Select one reason from the list of exit reasons.
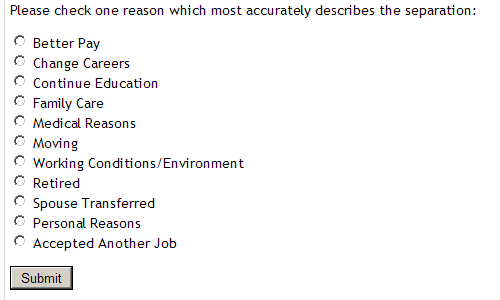
- Press Submit.
- An email notification will be sent to your work and home email addresses, your director, and HR.
Manage Positions
- Click on Manage Positions from the main menu.
- Access to this section is restricted to the relevant groups.
- Select Current Personnel to view a list of personnel at your campus listed with Skyward.
- To view a different campus, select a campus from the drop-down menu and press Submit.
- Select the appropriate person to process. An information page with the following options will load:
- Separation Process or View Separation Form
- Generate Personnel Action Form
- Select Separation Process. One of two scenarios may occur:
Exit Form Not Completed
- A warning will appear stating the exit form has not been created. To proceed, information must be entered on the exiting employee’s behalf. Press Next to begin.
- Click within the Last Day of Work field and select a date from the pop-up calendar.
- Select the appropriate responses to the following questions and press Next to continue.
- Update the forwarding information if available and press Next to continue.
- Select Yes or No to indicate whether the separation was voluntary, select a reason, and press Next to continue.
- The list of reason options will change depending upon the selection.
- Continue with Separation Process Continued.
Exit Form Completed
- A screen will appear giving the last date the employee had completed an Exit Form. Press Next to begin.
- An employee may fill out multiple Exit Forms, but only the most recent can be processed.
- The Last Day of Work cannot be edited. Select the appropriate responses to the following questions and press Next to continue.
- The Forwarding Information cannot be edited. Press Next to continue.
- The Exit Reason cannot be edited. Press Next to continue.
- Continue with Separation Process Continued.
Separation Process Continued
- Select the appropriate items under District Property and click within the Date field to select a date from the pop-up calendar. Press Next to continue.
- Enter any appropriate comments and press Next to continue.
- If a comment is too long, it may be truncated when printed on the form. However, the full comment will be recorded.
- Verify all of the information on the left side of the screen. If something is incorrect, press the Back button on the browser to amend the information.
- Enter your network eNumber (including the ‘e’) and password as your digital signature. Press the Submit button to complete the form.
- An email notification will be sent to your email, the employee’s work and home email, and HR.
- The filled out Personnel Separation Form may be viewed as a PDF from this screen or by returning to the employee’s information screen linked to from the campus personnel list.
Fill Process
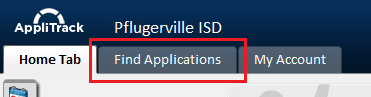
- Select Fill Position from the Manage Positions screen.
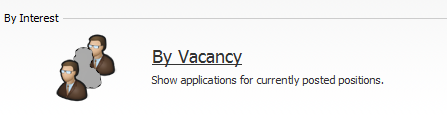
- Verify the applicant has applied in AppliTrack.
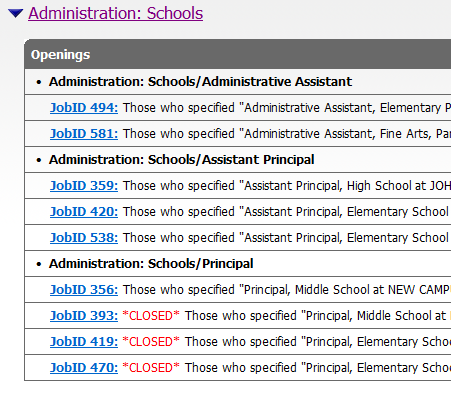
- Enter the Job ID from AppliTrack and the effective date.
- The Job ID is located next to the job title.
- Enter the candidate’s information.
- By selecting Current or Former, a button will appear below. Click on the button to open a window from which a current or former employee may be selected.
- By selecting New Hire, the Last Name, First Name, and Phone Number can be entered.
- Enter the Application Number from AppliTrack.
- Click on the JobID to return the list of applicants.
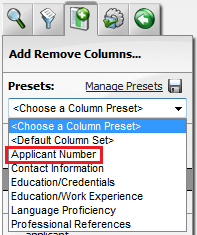
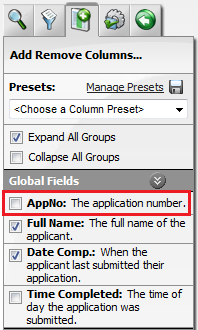
- Click on Add/Remove columns.
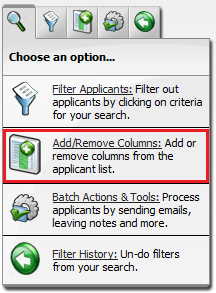
- Either select AppNo under Global Fields or select the Applicant Number preset from the Presets dropdown list.
- Click on the Select Stipends button to display possible stipends. Select the applicable stipends and click on Close.
- Select the certification requirement for the position.
- Select the induction status.
- By selecting Yes, a Search Employees button will appear from which the mentor teacher can be selected.
- Enter the applicant’s references.
- Enter the other applicants interviewed. A minimum of two is required.
- To add more applicants interviewed, click on the Add Applicant button.
- Click on Delete to remove an added applicant.
- Enter the previous employee in the position, if applicable.
- If the position had been occupied within the last year, the information will be pre-filled.
- Verify all of the information on the left side of the screen. If something is incorrect, press the Back button on the browser to amend the information.
- Enter your network eNumber (including the ‘e’) and password as your digital signature. Press the Submit button to complete the form.
- An email notification will be sent to your email, the employee’s work and home email, and HR.
- The filled out Personnel Separation Form may be viewed as a PDF from this screen or by returning to the employee’s information screen linked to from the campus personnel list.
Change Process
- Click on Manage Positions from the main menu.
- Access to this section is restricted to the relevant groups.
-
Select Current Personnel to view a list of personnel at your campus listed with Skyward.
To view a different campus, select a campus from the drop-down menu and press Submit.
- Select the appropriate person to process. An information page with the following options will load:
- Separation Process or View Separation Form
- Change Position
- Select Change Position.
-
Indicate whether the change is an assignment change.
- If the position was listed and filled through AppliTrack, the position must be processed through the Vacancies section.
-
Select the location of the new assignment, if applicable, and press Next to continue.
- For campus-based administrators, the change must be processed by the campus receiving the position.
- Administrative departments may select other departments.
-
Indicate whether the assignment is replacing another employee and press Next to continue when finished.
- By selecting Yes, a Search Employees button will appear from which the other employee can be selected.
-
Select any position category to make changes to the details and press Next to continue.
- Indicate whether there are changes to the funding and select the applicable categories to make changes. Press Next to continue
- Current Stipends will be listed if applicable. To remove a stipend, press the Remove button. Press Undo to re-add the stipend.
- Click on the Select Stipends button to display possible stipends. Select the applicable stipends and click on Close. Press Next to continue.
- Select the certification requirement for the position and press Next to continue.
- Describe any additional details required to make a change to the position and press Next to continue.
- Verify all of the information on the left side of the screen, If something is incorrect, press the Back button on the browser to amend the information.
- Enter your network eNumber (including the ‘e’) and password as your digital signature. Press the Submit button to complete the form.